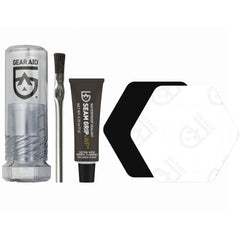


Seam Grip WP Waterproof Sealant and Adhesive
Seam Grip WP can seal up to 12 ft of gear. It's also a flexible repair adhesive that can patch up holes in all types of fabric including nylon, vinyl and canvas. Ideal for when gear rips or leaks on a camping trip.
$9.95
Details
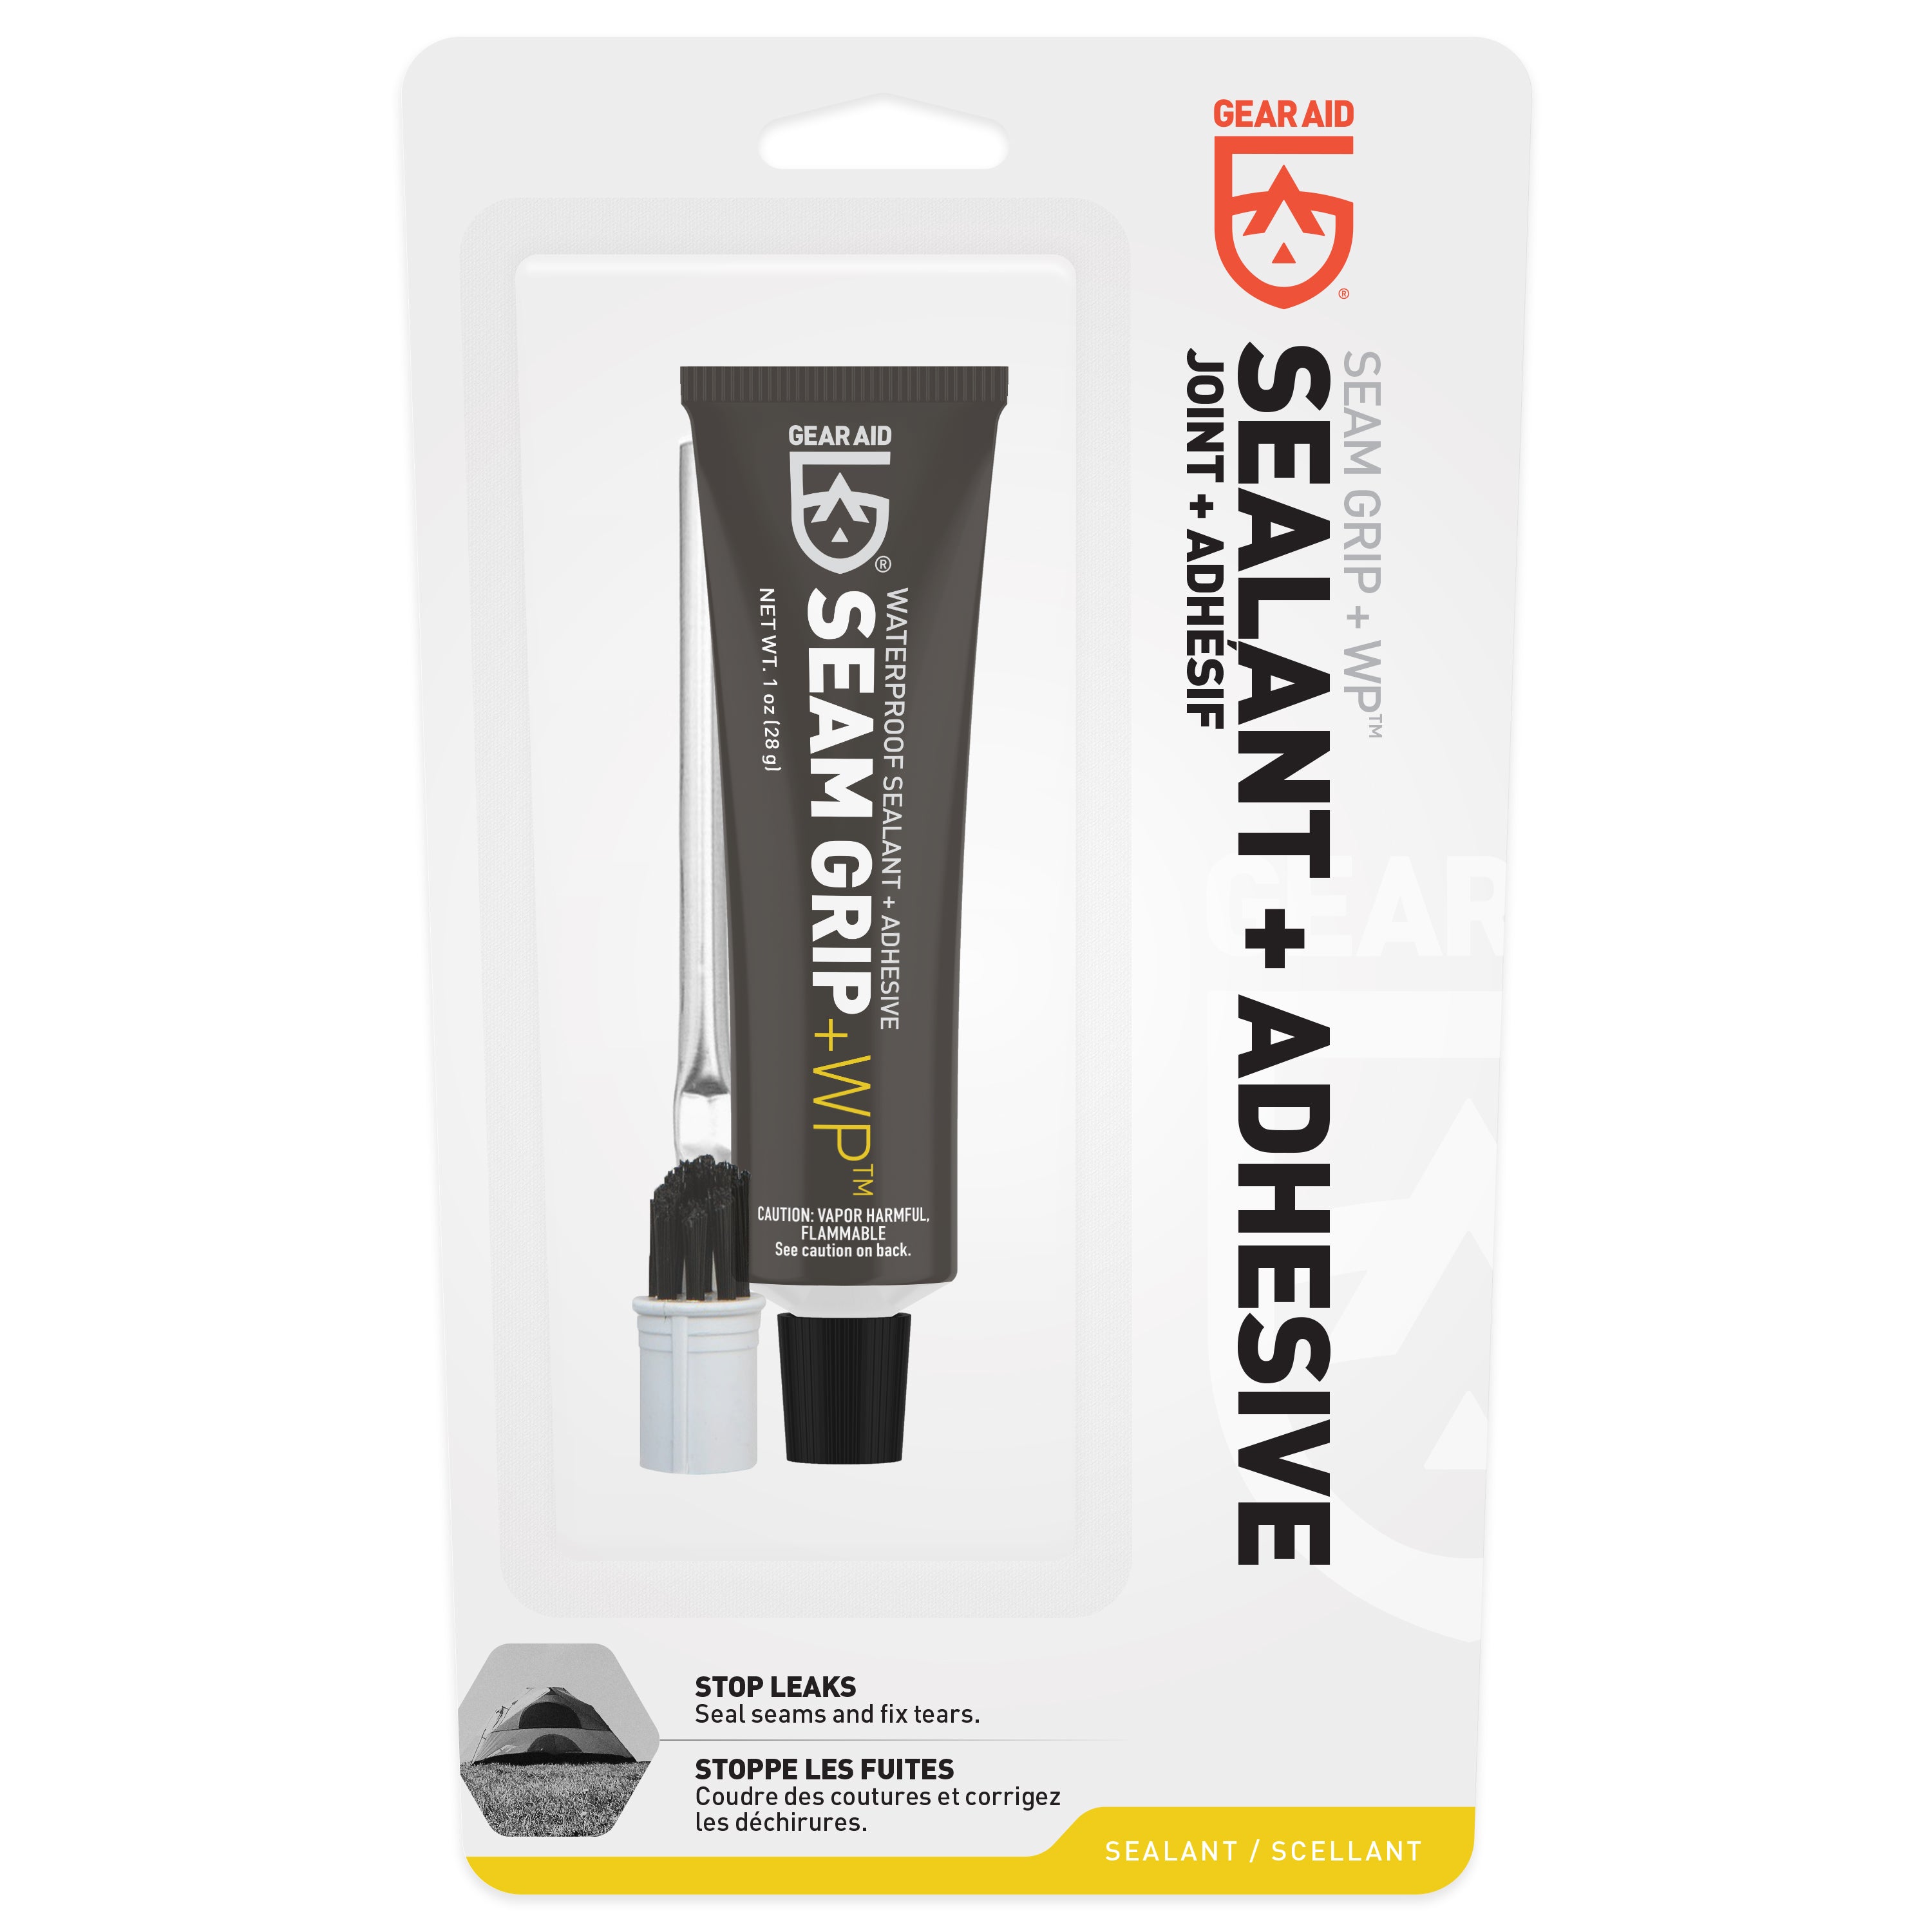
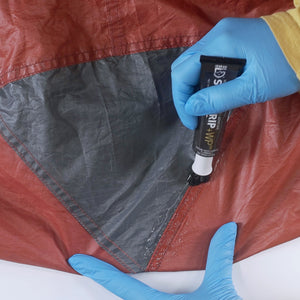
Seam Grip WP is a tent seam sealer that goes above and beyond to keep moisture out. Seal up to 12 ft of tents, tarps, and awnings with a single 1 oz tube. As a permanent waterproof sealant, it keeps outdoor enthusiasts dry and comfortable. It’s also a flexible repair adhesive that can patch up holes in all types of fabric including vinyl, nylon and canvas. So, take this clear glue along on the next camping trip, and be ready when gear rips, leaks or falls apart. Seam Grip WP Sealant and Adhesive saves gear and the adventure.
- Durable – Tough urethane formula bonds permanently to tents, awnings, campers, and even PVC plastic
- Waterproof – Provides a water-tight seal that won’t peel or crack over time, keeping adventurers warm and dry
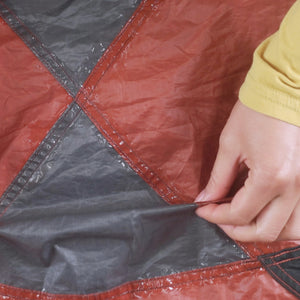
- Flexible – Cures to a thin rubber seal that flexes with high performance gear
- Abrasion Resistant – Make a repair that withstands scrapes and scratches
- Multipurpose – Bonds with a variety of outdoor fabrics including nylon, vinyl, leather, and polyester
Please note: Seam Grip WP will not work on silicone-treated fabrics or sil-nylon. Check out Seam Grip SIL Silicone Tent Sealant here.
Specs
- Material: thermoset urethane
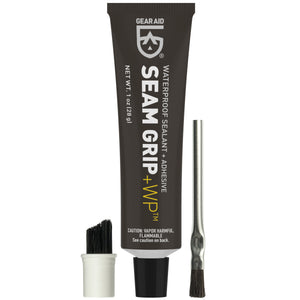
- Sizes: 0.25 oz (multipack), 1 oz or 8 oz
- Color: clear
- Adheres To: nylon, canvas, vinyl, polyester, and most fabrics
- Coverage: 144” x 0.25” (12’ of seams)
- Cure time: 8-12 hours
- Cure Method: humidity
- Washable: yes
- Application Temperature: 60° to 100°F (above 40% relative humidity)
- Use Temperature: -20° to 180°F
- Storage: store in bag in freezer
- Made in USA
Reviews
Customer Reviews
Based on 5 reviews
Write a review